Hours: 4
I back riveted the tank stiffeners to the left and right tank skins today. It took two 3 gram batches of pro seal. I buttered the stiffeners using a popsicle stick, then aligned them on the skin and manually pressed them down. Then I flipped the skin up and used a tooth pick to make sure all the holes were wet out on the factory head side. I also used the tooth pick to align the holes in the stiffeners with the holes in the skins. Then I put rivets in the holes, pushed them in firmly using a clean tooth pick and then put rivet tape over them. The rivet tape nicely contains the pro seal while riveting making clean up much easier. Also, it is easy to tell if each rivet was properly wetted out by looking at the tape after riveting. There should be a ring of pro seal around each rivet if it was wetted out.


After riveting, I pulled the tape off and wiped down the line of rivets with a paper towel wetted with acetone to clean off the excess pro seal.

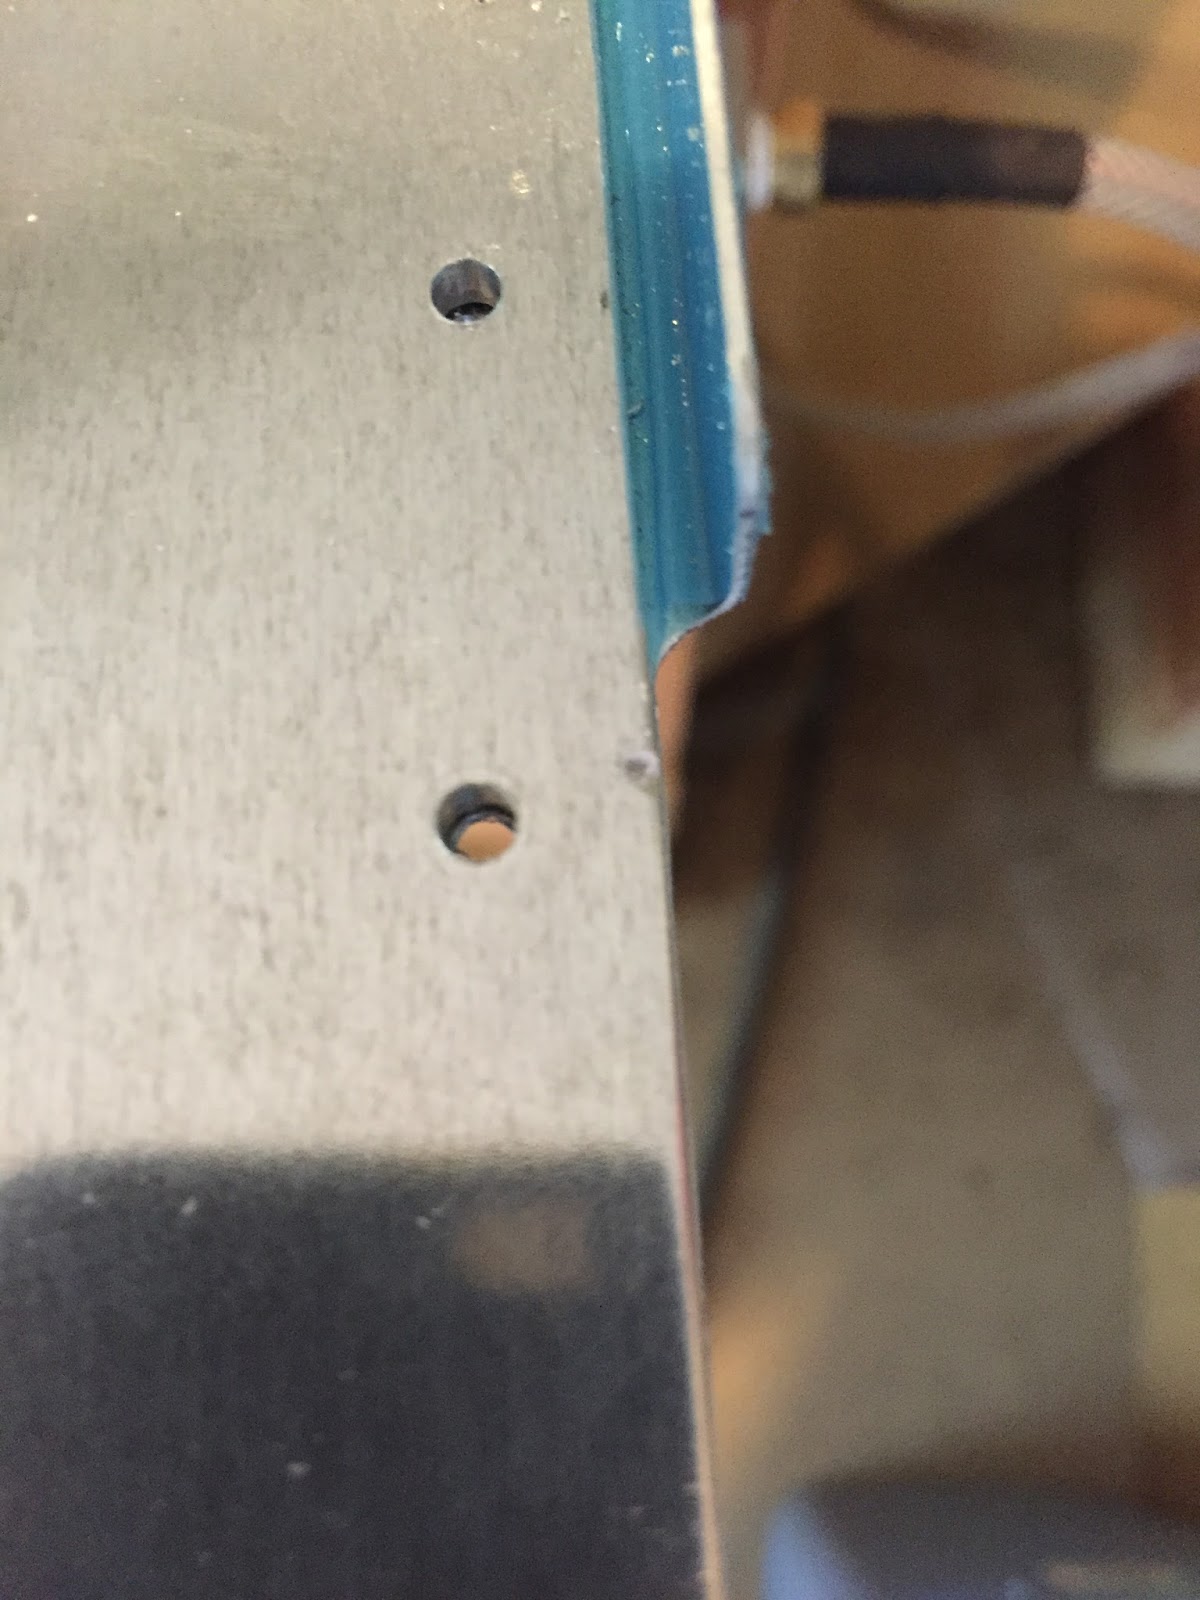
I tried to butter just the right amount on each stiffener so that it would easily seat on the dimples but still squeeze out some excess pro seal after riveting. I found that the pro seal didn't squeeze out as nicely about 2 hours into the cure, so I mixed up another batch half way though the project this afternoon to get better "squeeze out".

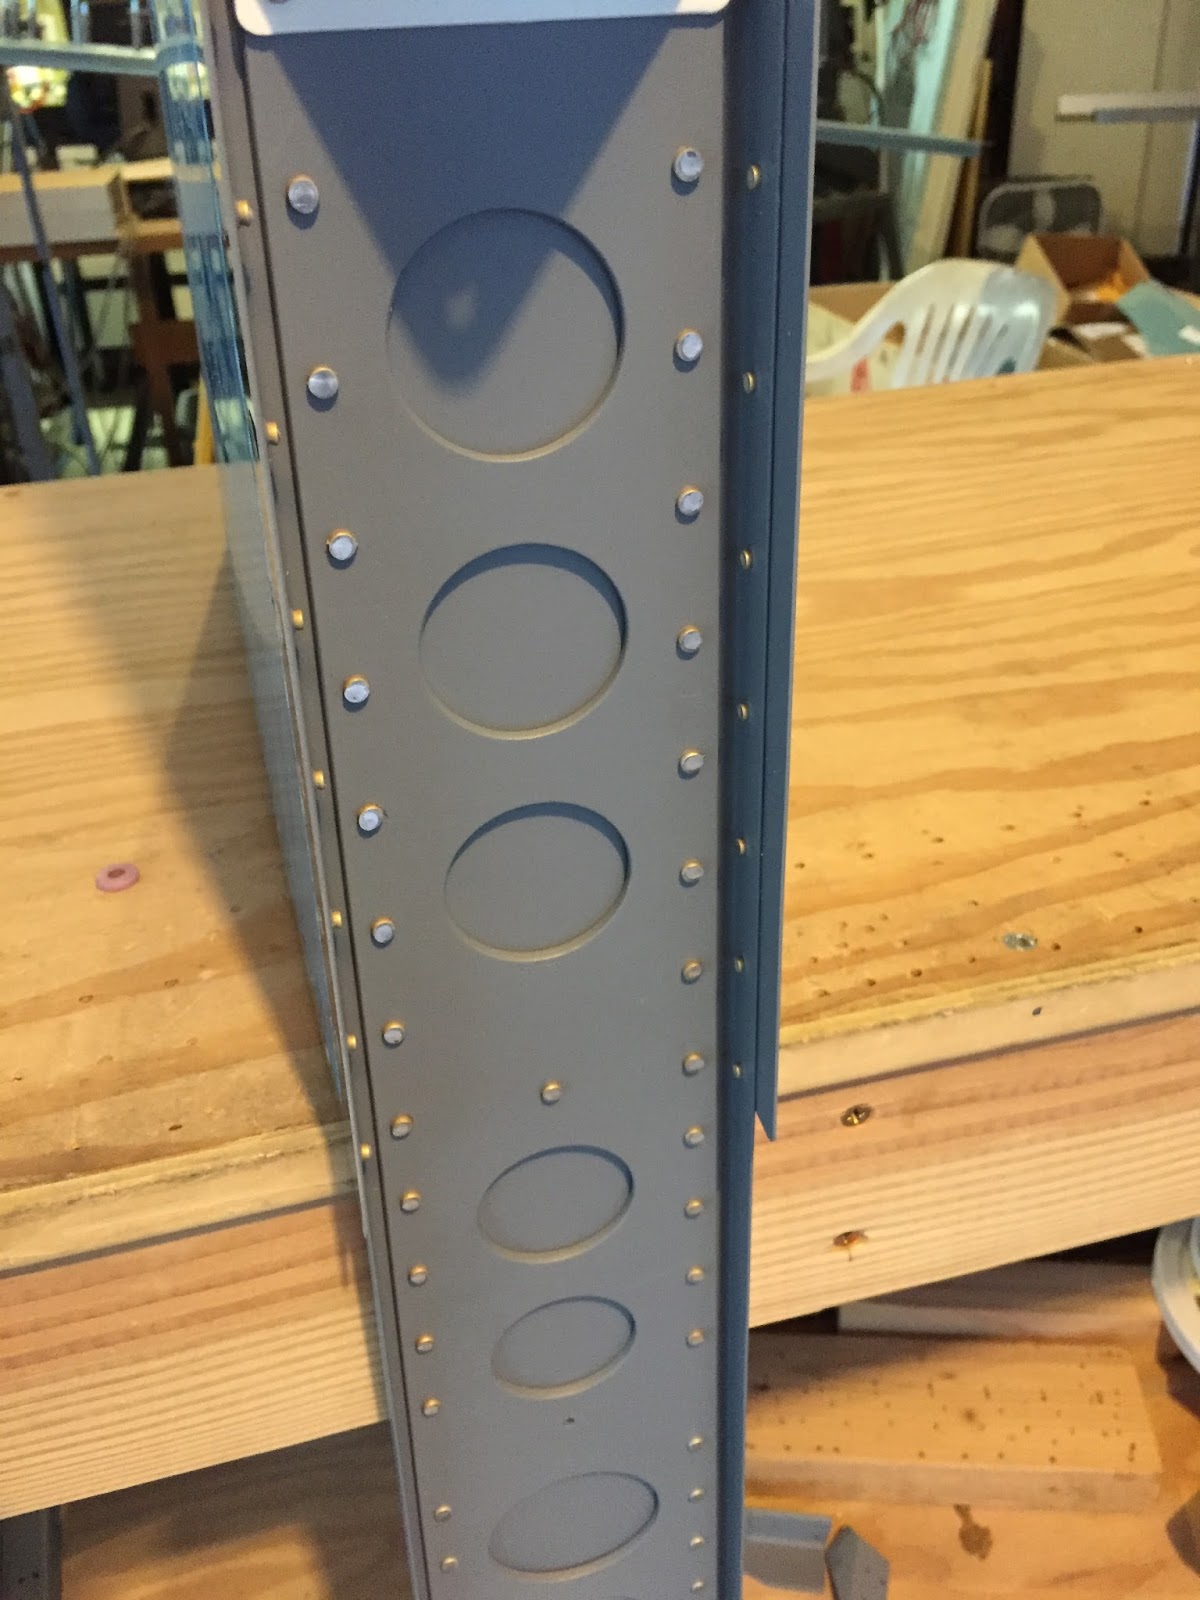
This is what the shop heads look like after bucking. I may touch up each rivet with a little more pro seal tomorrow.